


Petunia Pickle Bottom Easter Egg DIY
We love a good craft here at PPB HQ! Inspired by our Spring Collection and all of the fun Easter crafts floating around Pinterest, we’ve created custom designs from one of our favorite Spring ’15 patterns that are easy to download, print, and apply to hard boiled eggs. The best part? This DIY is DYE free…and will leave you with little – to no – mess to clean up. Read on for instructions!
What you’ll need:
-Tattoo paper, we used Silhouette Printable Tattoo Paper
– Printer
– Scissors
– PPB Designs, which you can download right here.
– Hard Boiled Eggs
– Small bowl or cup of water
– Sponge or paper towel
Directions:
Step 1: Download the template– don’t worry! It is supposed to be reversed — and print it out onto the temporary tattoo paper.
Step 2: Be sure to closely follow the instructions given on the tattoo paper packaging for application of the adhesive sheet.
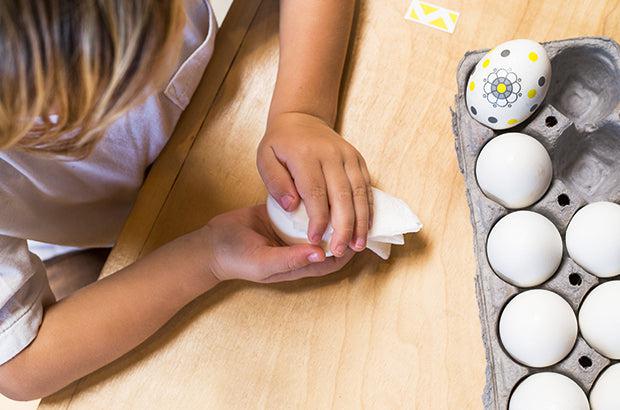
Step 3: Cut out one tattoo, remove the clear plastic layer, and apply with a wet paper towel or sponge to the hard boiled egg. Again, reference the tattoo paper for application instructions.
Note: Be sure to leave the eggs out for at least a couple of hours beforehand. The tattoos won’t stick on the cool egg straight out of the refrigerator. The surface of the egg must also be completely dry!
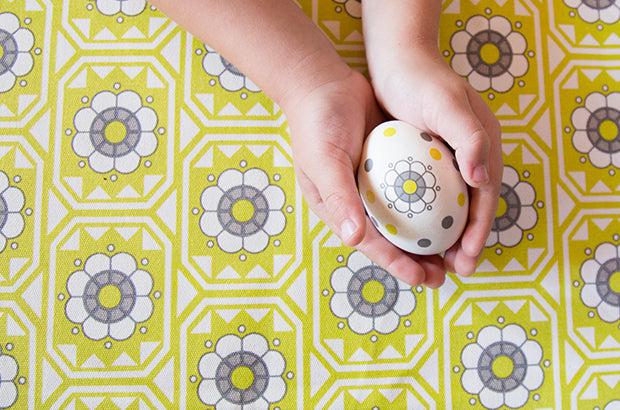
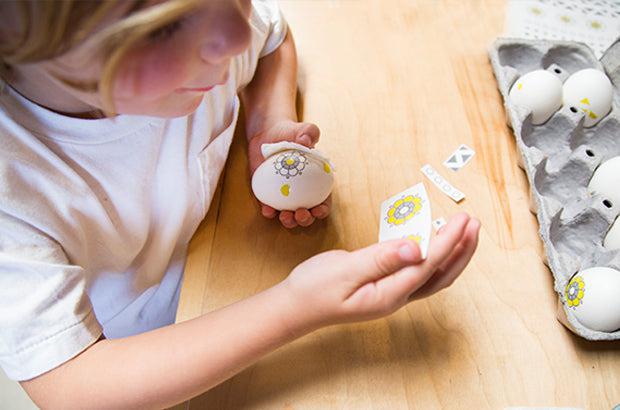
Step 4: Remove the paper backing from the egg, and there you have it! Your own PPB Easter Eggs!

All designs are owned by or licensed to Petunia Pickle Bottom.


Leave a comment